
Candle Making Guide
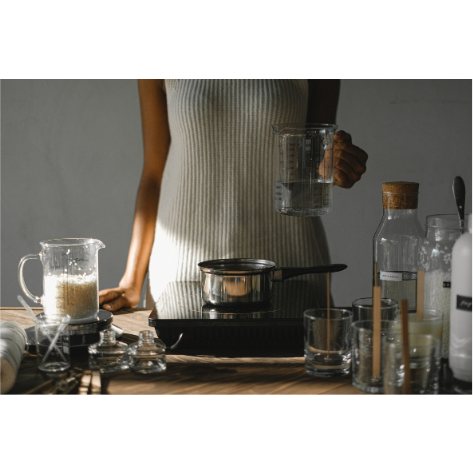
Candle making can be a fun and creative activity. Here’s a basic guide on how to make candles using the traditional method of melting and pouring hot wax:
Materials You’ll Need:
1. Wax (paraffin, soy, beeswax, or a blend). We love these organic beeswax pellets which are triple filtered and perfect if you are starting out on your candle making adventures.

2. Candle wicks. You can buy them pre-waxed like these organic ones. Check the length you will need before you buy them – remember you can trim them if they are a little too long
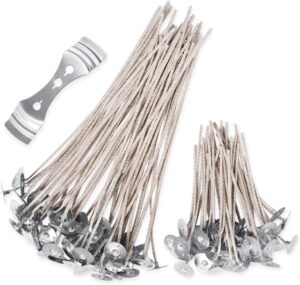
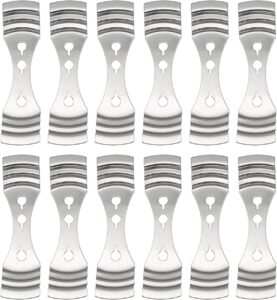
3. Wick holders. These are to hold the wick in place while the wax sets. Your wicks might come with wick holders, but if not, you can get some separately. Consider how many candles you might have setting at any one time.
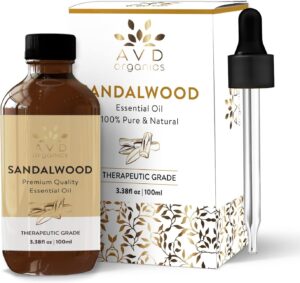
4. Fragrance oil. We recommend getting the highest quality essential oil that you can afford. You won’t need to use very much – generally a few drops per candle – but always test what quantity works best with your wax and size of candle. Always look for paraben-free, and ideally organic essential oils. We love this one from AVD Organics
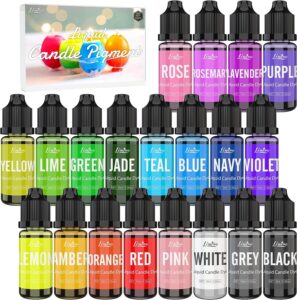
5. Dye (optional). You don’t need this for your candles – especially if they are in a tin or jar which is not transparent. However, it can be a nice touch to make your candles more visually appealing. Generally you can get a wide selection of colours to match whatever style you are looking to create.
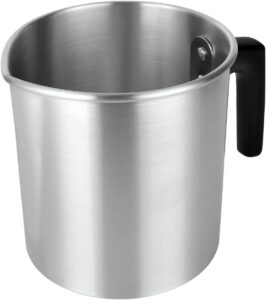
6. Melting Pot. Ideally a jug with a handle so you can easily pour your wax into your tins or moulds. Consider something which you will be able to lift easily when filled (i.e. not too large). We love this jug as it’s the perfect size, and good quality.
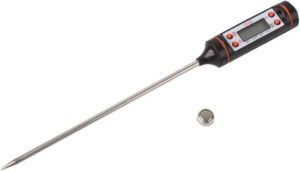
7. Thermometer so that you can check when the wax is at the ideal temperature. A standard food thermometer is absolutely fine for this.
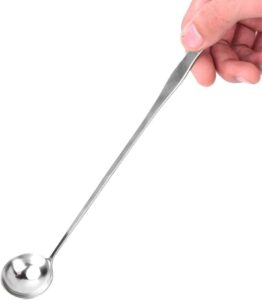
8. Stirring utensil (metal or silicone). If you have a spare cocktail mixer, that will work perfectly. But make sure it’s something you don’t mind getting covered in candle wax and essential oils! This one with a long handle is ideal.
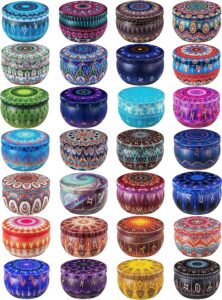
9. Moulds (candle containers or jars). You can get really creative here with some funky or themed jars and moulds. You can go for some clear, glass ones, or how about some really pretty colourful ones like these?
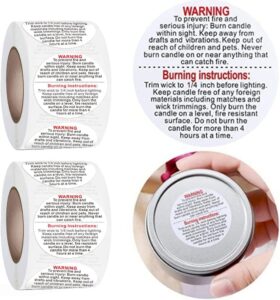
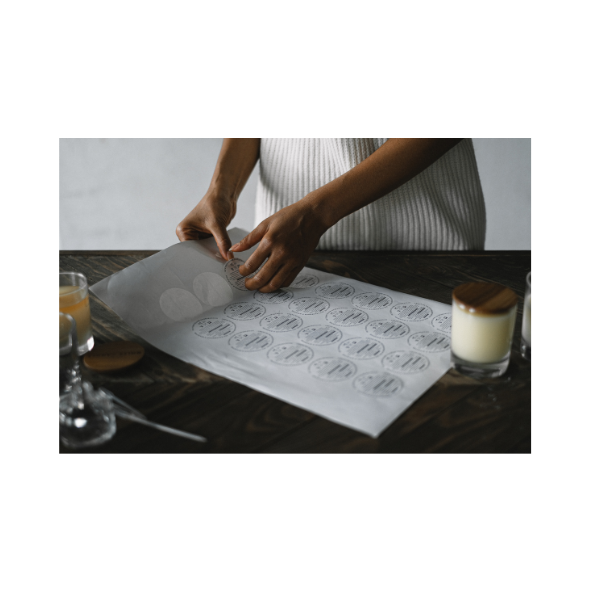
10. Safety Labels. All candles should have labels on them giving safety warning information. You can get these ready printed for you to stick to the underside of your candle.
Step-by-Step Guide:
1. Prepare Your Work Area: Set up a clean and well-ventilated workspace. Cover surfaces with newspaper or wax paper to catch any spills. Have all your materials ready. Make sure you are in a well-ventilated room if you are using scented oils or fragrances.
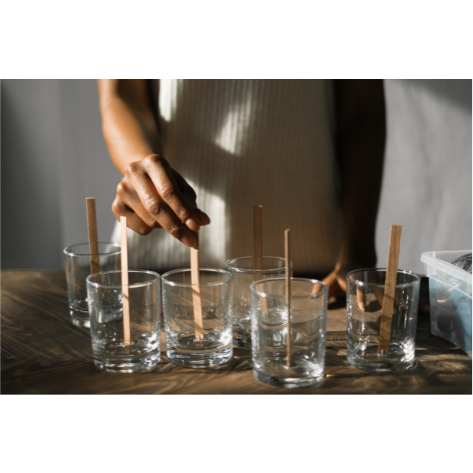
2. Prepare the Wick: Measure the length of the wick by placing it into the container/mould and leaving a couple of inches above the rim. If using pre-tabbed wicks, you can stick the tab to the bottom of the container. If not, you can use a bit of melted wax to secure the wick to the container’s bottom. This will keep it in place while you pour the wax.
3. Melt the Wax: Use a bowl over a pan of hot water to melt the wax. Place the wax in the bowl and stir until it is all melted – in the same way that you would melt chocolate for cooking. Alternatively, you can use a microwave-safe container and melt the wax in short bursts, stirring between each interval. Use a thermometer to monitor the temperature of the melted wax; it should be around 170-180°F (77-82°C).
4. Add Fragrance and Dye (Optional): If you want scented or coloured candles, add your essential oil and dye to the melted wax. Follow the manufacturer’s recommendations for the appropriate amounts to use.
5. Prepare the Mould: Place the wick in the centre of the mould/jar. You should use your wick holder laid across the top of the container to keep it centred.
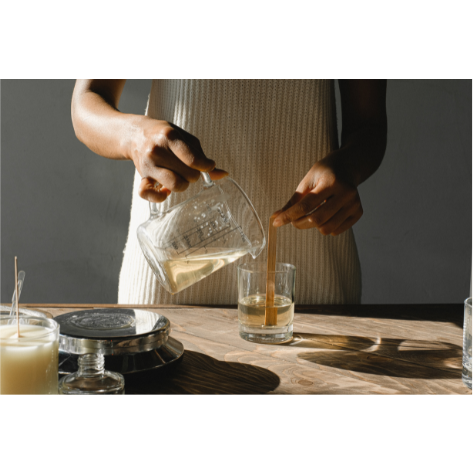
6. Pour the Wax: Carefully pour the melted wax into the mould/container, leaving some space at the top. Be sure to pour slowly to avoid air bubbles and ensure an even fill.
7. Cooling and Setting: Let the candle cool and set. This process may take a few hours, depending on the size of the candle. It’s best to let the candle cool at room temperature to avoid cracking.
8. Trim the Wick: Once the candle is completely set and cooled, trim the wick to about ¼ inch (0.6 cm) above the surface of the candle. This helps with even burning and reduces smoke.

9. Add your Safety Labels. This is important so that the people using your candles know how to use them properly and safely.
9. Curing: If you used fragrance oil, allow the candle to cure for a few days before lighting it. This helps the fragrance to fully develop. Store your candles in a cool, dark place, and never in sunlight. You don’t want them to start melting before you’ve lit them!
10. Enjoy: Your candle is now ready to be lit and enjoyed! If you are selling them at a market or fair, remember to package them carefully so that they are not damaged in transit. If you do make candles for your business and are looking for places to sell them, check out our events listing page to find an event near you!

Remember that making candles involves working with hot wax, so always prioritise safety. Never leave hot wax unattended, and take extra care if you have children around.
